Blender Mesh:F2・・・ポリゴンの穴を埋める便利なアドオン
超便利!

作業に入る前にまずはその機能を使えるようにします
編集→プリファレンスから
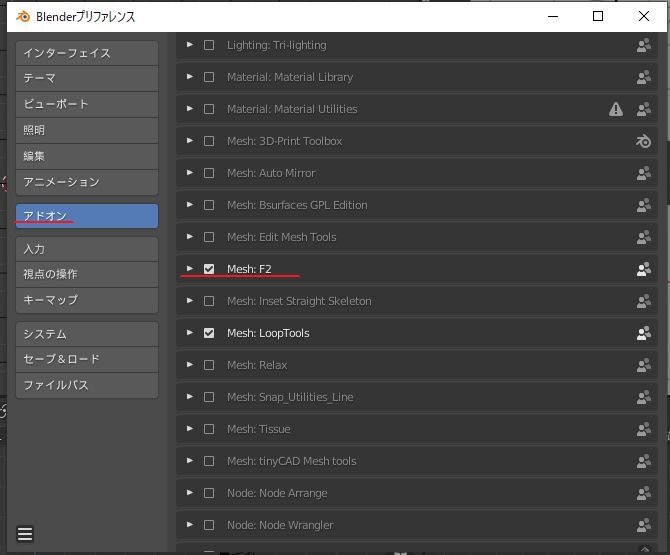
アドオン→Mesh:F2にチェックを入れておきます
これでF2機能が使えるようになります
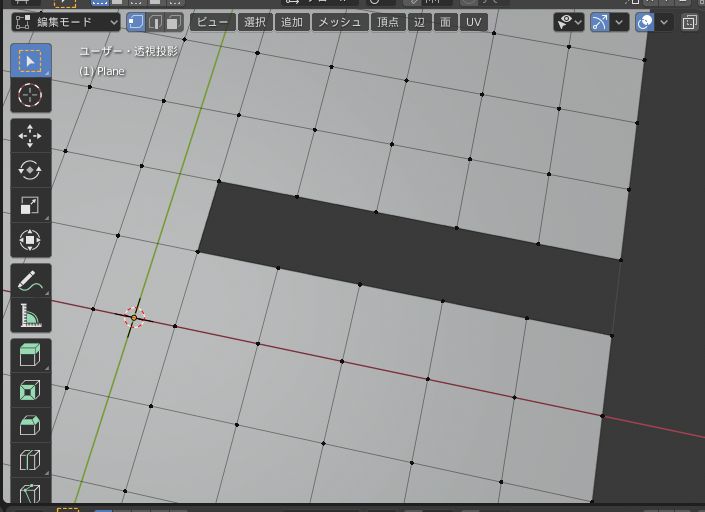
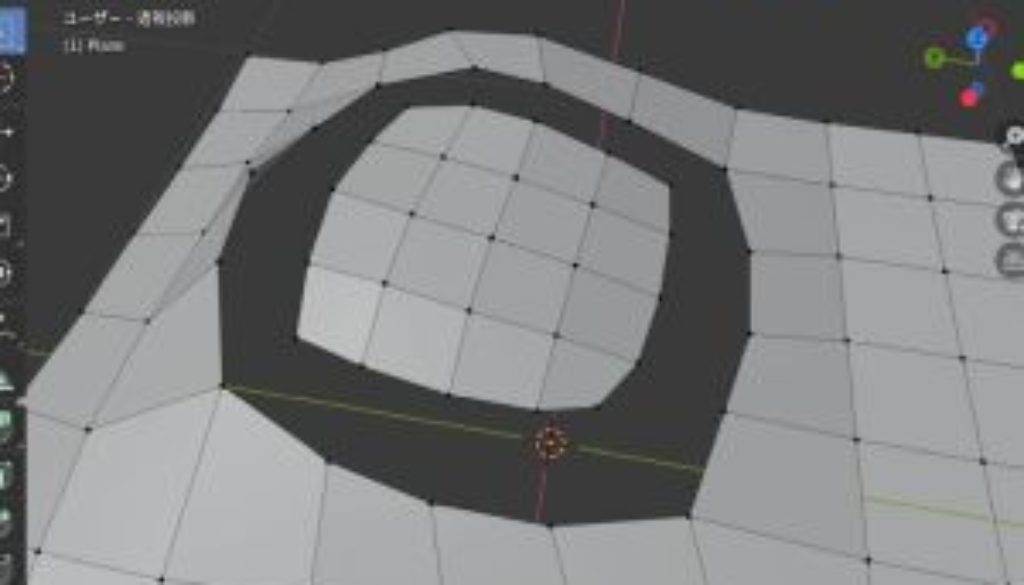
そもそもF2がどんな機能なのか
↑のように連続して間が抜けたポリゴンを一枚一枚埋めようとすると結構めんどくさいのですが、
F2を使えば楽に埋めることができます
(編集モードで進めていきます)
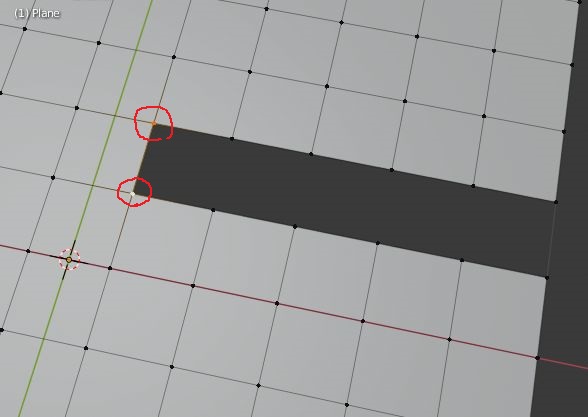
まずはポリゴンが抜けている一番最初のポイント2つを選択して、
Fを押すだけ!
そのままFを繰り返せばサクサクポリゴンが埋まっていきます

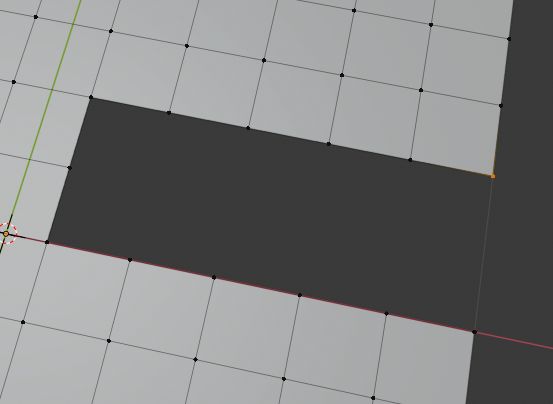
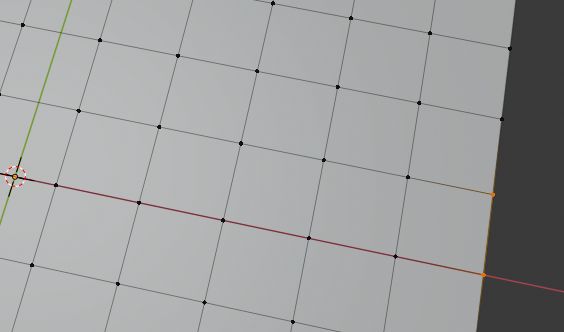
しかし、ポリゴンの穴の間隔が広い場合、

例えば先ほどと同じように2ポイント選択してFを押すと

画像のようになってしまい、うまくいきません
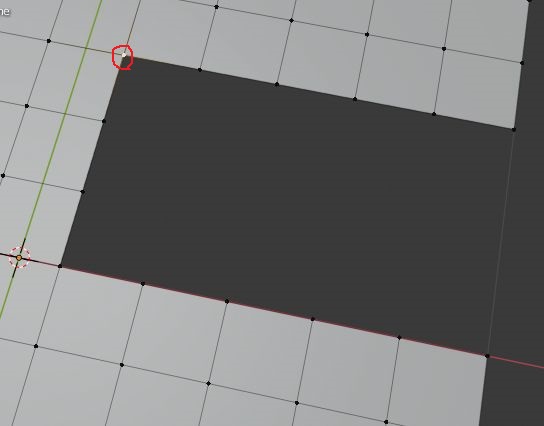
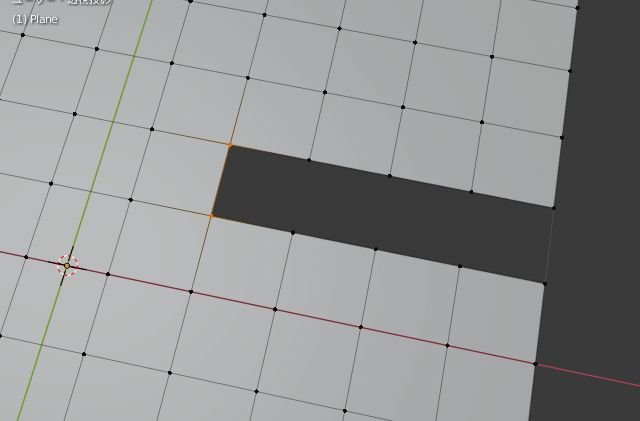
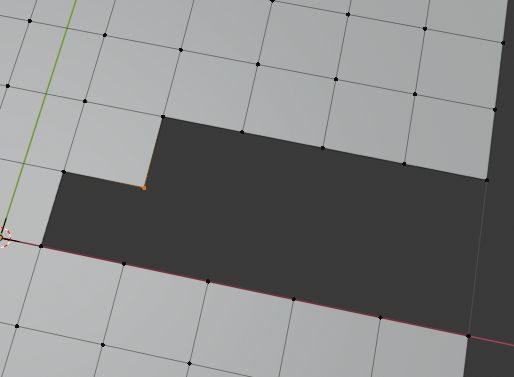
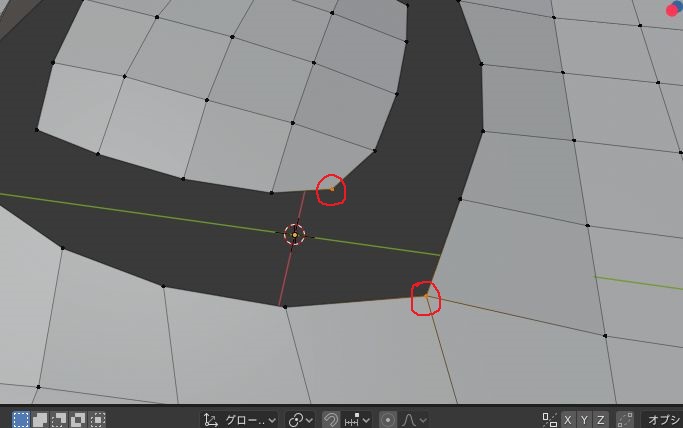
こういう場合は、↑のように1ポイントだけ選択してFを押せば
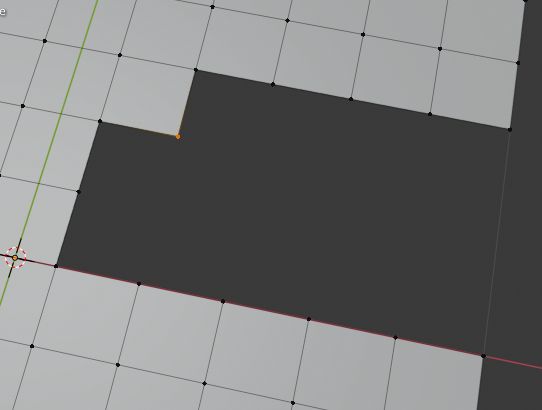
そのポイントの対角状にポイントが発生し、ポリゴンを生成してくれます
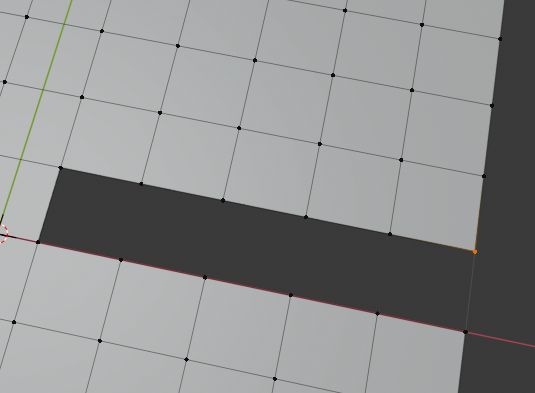
続けてポリゴンを張りたい時は、再び↑画像の部分を選択して
Fを押せばOKです。
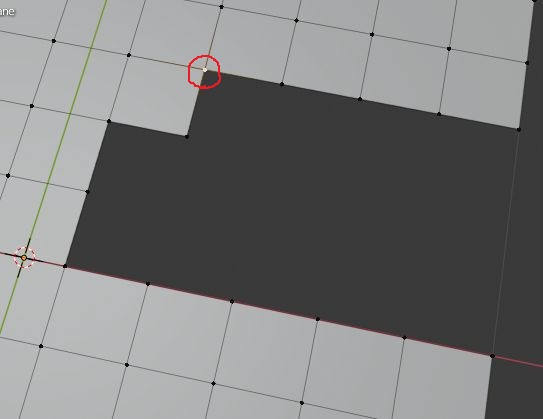
今さっきほどのサクサク感はないですが十分すぎるほど簡単に穴を埋めることができます。

もう一列も同じように1ポイント選択して
Fで埋めていきます。
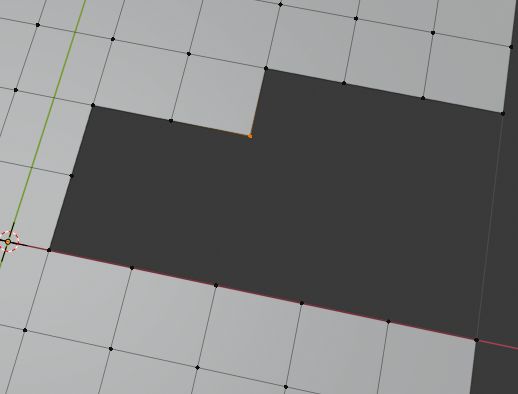
ここまで埋まれば、
後は2ポイント選択してF連打で
サクっと埋めれます!

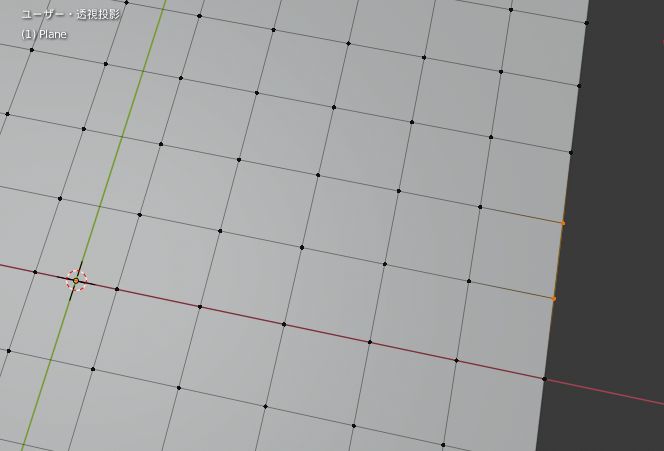
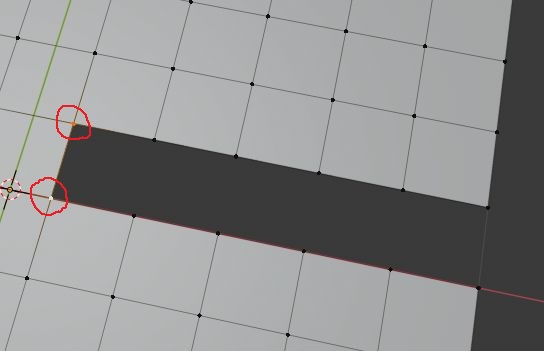
こういうポリゴンが孤立している状態でも、
↑のようにポイントを2つ選択して

F2を押せば、まずエッジが生成されて

そのままF連打でポリゴンがどんどん埋まっていきます!